Image Map
Showing posts with label Nail Art Challenge. Show all posts

Challenge Week 48: Inspired by a tutorial

30 November 2013

So I was really stuck on how to do my nails at the start of the week. As per normal, things have gone crazy. I was in London Monday to Wednesday with work (yes, I was made to work over my birthday so I didn't get chance to do a birthday manicure :( ).

Luckily, I had Monday off work to travel so I was able to stay up later Sunday night to do my nails.
I was a bit stuck on what to do, I've really been struggling for inspiration recently so I returned back to the year long Nail Art Challenge me and some friends came up with.

This week it was inspired by a tutorial.

If you don't already know, I am a huge fan of the Nailasaurus and last month she posted a tutorial on how to recreate her fab Nimbus Nails. I thought these nails looked really effective and thought I'd give it a go.

I can't remember what polishes I used and as I'm writing this blog post on the coach from London to home, I can't really check. I struggled matching the right colors and found that using darker colors were easier and showed up a lot better.

I'll definitely be looking to incorporate this style into more of my manicures.

Read more ...

Challenge Week 42: Inspired by a pattern

17 October 2013

I bought a beautiful navy and white paisley scarf from Forever 21.  It was super cheap and it's really long and fab.  So I decided to do my nails based on this scarf.

I used the Barry M white nail art pen for this but it wasn't great for the fine detail.  My nail art brushes are on their way out, again, and I need more so I can freehand better.  These took me forever and I didn't bother with the clean up because I wasn't going to do my right hand, but here they are:


Needless to say, I wasn't very happy with these and they were soon replaced with some of Nail Lacquer UK's new polishes!  I can't wait to show you guys!


Read more ...

Challenge Week 41: Galaxies

11 October 2013

Yet again, I've been completely lax with this challenge!  I also can't believe we're up to week 41!  It's crazy.

This week is Galaxies nails and something I've always wanted to try but never got around to do it.  I used a fantastic tutorial by the Nailasaurus to help me.

This took me two attempts but I was really happy with the final results.  They didn't keep well though, only because I wore them to Thorpe Park yesterday and they got all battered and chipped! :-(

The polishes I used were:

Models Own - Apple Pie
Barry M - Limited Edition Neon Yellow & Prickly Pear
Opi - I Can't Find My Czech Book
Seventeen - Coral
Sally Hansen - Dorian Grey
Avon - Silver (for the shimmer)

These colours all look really good together and I think tonight I'm going to create a splatter manicure with them.

Here are the results:


Read more ...

Challenge Week 36: Newspaper Print Nails

02 September 2013

I can never get newspaper print nails right.  On top of that, I never think they look very exciting.  To spice them up I decided to do my newspaper print nails over a gradient.  I still messed them up though! :-(

So here are my newspaper print nails.

They're coming off tonight!


Read more ...

Challenge Week 35: Matte Magic Nails

26 August 2013

The challenge this week has come just in time because my Sally Hansen top coat has started to run dry. I don't get paid until Friday and am super skint so I'll be making the most of my matte top coat this week.

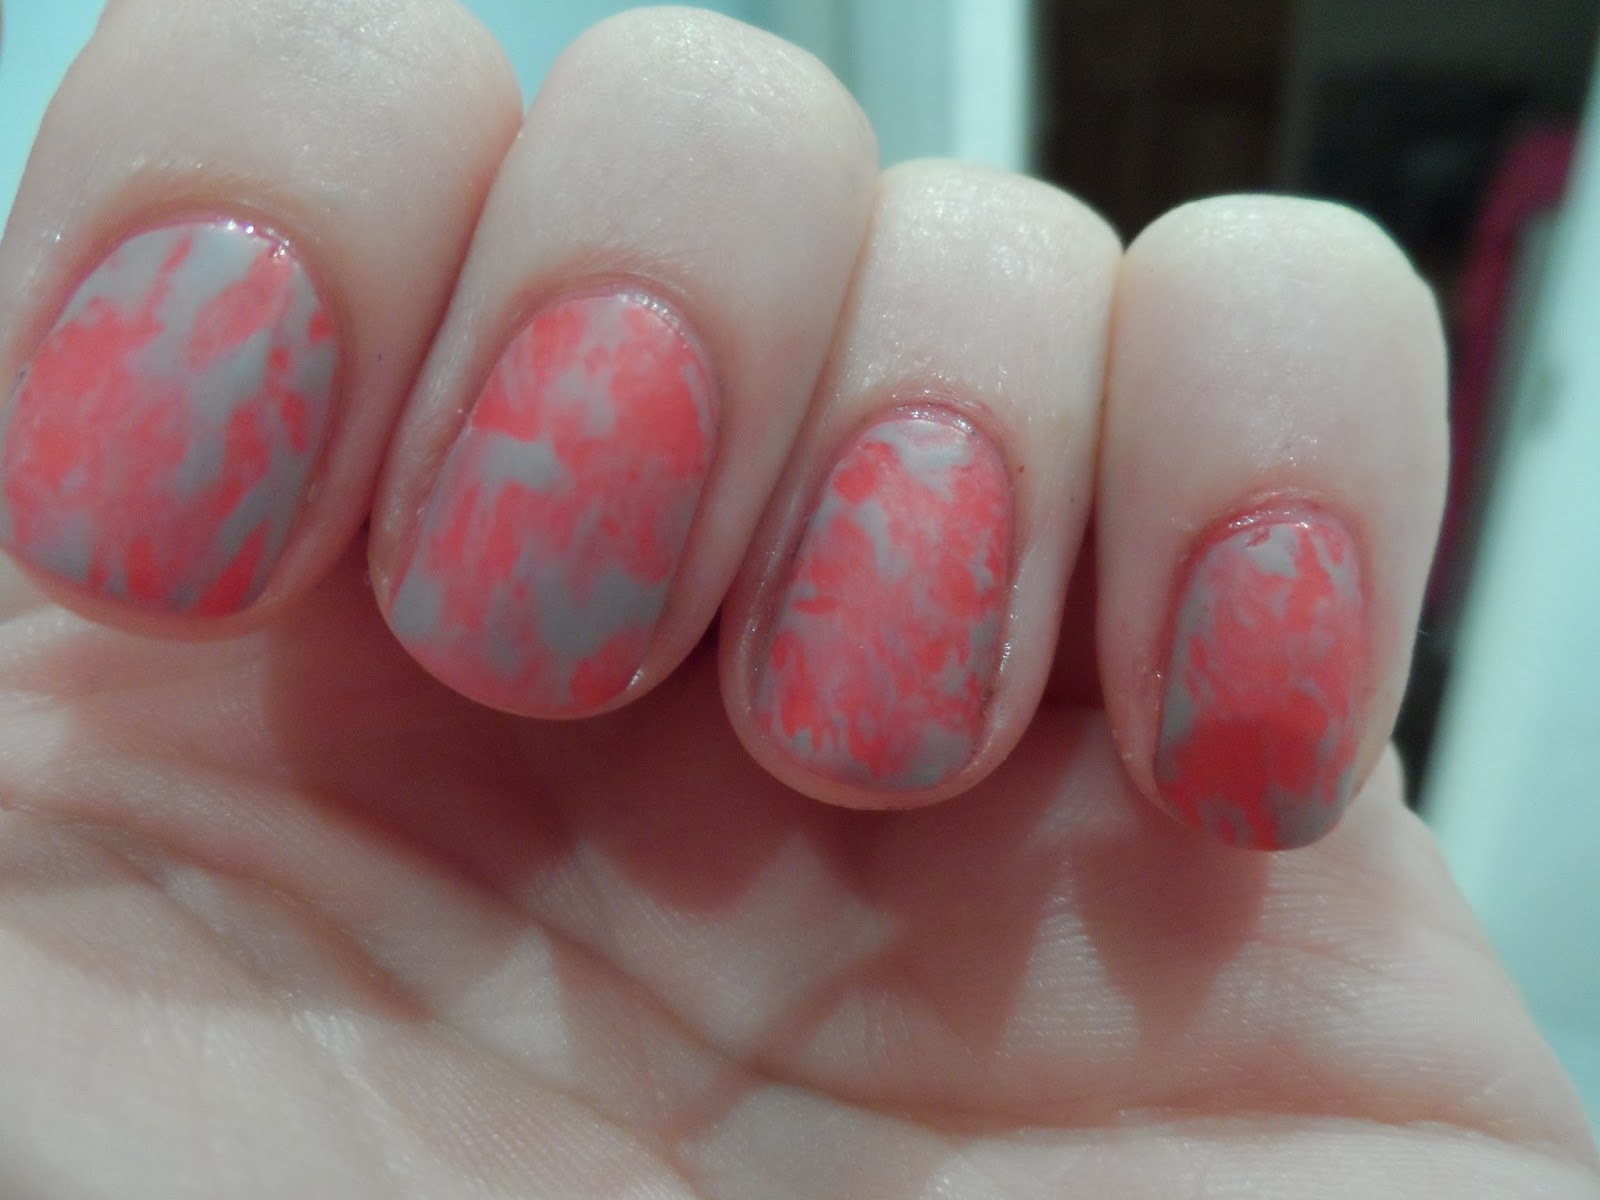
So, I couldn't think which of my favourite styles of nail art to do with a matte twist - would tribal or splatter look better.  Then I decided actually to try a Saran wrap manicure (clingfilm for us British Bloggers).

The varnishes I used were:

  • Opi Nail Envy
  • China Glaze Make Some Noise
  • Sally Hansen Dorian Grey
  • Rimmel Pro Matte Finish Top Coat
This manicure is really easy to do and looks super effective.
  1. Paint your base coat then two layers of your base colour.
  2. Wait for your base colour to be superdry then paint one layer of your top colour on the top of one nail.
  3. Using a little ball of clingfilm, press lightly against the nail until some of the colour comes up.  Be careful not to take all the colour up though.
  4. Do this for each nail.
  5. Once the polish is dry, clean up and add your top coat.
I looked at a few blogs for guidance on creating this look before giving it a go and I loved looking at all the different colour combinations.


In other news - I'm currently looking for someone who can help me redesign my blog.  If you think you can help (and obviously, I'm not looking for free help) please e-mail me at Naileymabob@gmail.com.  Thank you! :-)

P.S I think the next nail related purchase I make will be a light box!
Read more ...

Challenge Week 33: Ombre Nails

11 August 2013

So, what is the difference between ombre nails and gradient?  At first I thought, nothing.  There is no difference.  Ombre is a different name for gradient.

WRONG!!

I found this fantastic blog called The Swatchaholic who manages to simply explain the differences between gradient and ombre nails (and also Skittle nails which I also was a bit hazy about!!)  Inspired by her blog post then, I decided to create a gradient ombre nail.

I struggled to find 6 of the same colour in my nail polish boxes.  This means that I should expand my collection, right?  I finally settled on green.

I then struggled to match the colours up in order from light to dark.  Unfortunately, I got it wrong.

I'm disappointed with this manicure, it isn't my best and I don't think it'll be seeing the light of day.


The only finger I was actually impressed with was my thumb.


The polishes I used from thumb to tiny finger are:

  • Barry M Mint Green
  • Barry M Limited Edition Green
  • Model's Own Toxic Apple
  • Barry M Spring Green
  • Barry M Key Lime
  • Barry M Watermelon

Read more ...

Challenge Week 32: Ugly Bug Ball

05 August 2013

Hooray!  Finally a theme which is easy to do.

I had an Ugly Bug Ball for my 21st.  Myself and my uni friends all dressed up as Bugs and hit Winchester.  I was a ladybug.


Ignore the poor quality of the photo and the horrendous face I'm pulling but it's the only full picture of me I can find.

So, inspired by my fancy dress costume, I thought I'd do Ladybug nails.  I used Barry M Red, Black and White polishes along side my medium striping brush and a dotting tool.

These look cool and v. friendly! :-)


Read more ...

Challenge Week 31: Girls Just Want to Have Fun

30 July 2013

Oh my Lordy, please don't let me set the nail art challenges next year.  I suck.  This week's theme is Girls Just Want to Have Fun.  What?!

So I went for a pink manicure with some glitter.  Nice and fun, right?

Looks good anyway! ;-)

Nail polishes are Barry M Dragon Fruit Gelly and Rose Quartz glitter.  They made a lovely combo.


Read more ...

Challenge Week 30: Sugar, Spice and Everything Nice

22 July 2013

Alright... who was the idiot who came up with these challenge ideas?!  Oh... right, yeah me!  I'm sorry, I suck!  This was really hard but I've always wanted to try the sugar spun look, it's really eye catching and I love how it looks.

But it's so hard to do.  I found my varnish either drying up before I could even finish one nail or not getting tacky enough so it wouldn't go all stretchy.  Nonetheless, my attempt isn't too bad!  I might try again with more contrasting polishes.  I went with pinks to fit in with the "sweet" type theme and picked Barry M's Dragon Fruit for a base and Model's Own Pink Punch on top.

Here are a few photos


Read more ...

Challenge Week 27: Bling Nails

04 July 2013

I love everything bling, I'm a real magpie for sparkly things but I struggled a bit to think of something different to do for this manicure.  But then I spotted these fab nail stickers in Claire's (but in blue) and had to pick them up.  They were only £3.50!

I'd also picked up the free Ciate Caviar set in a magazine recently and decided to combine the two.

Unfortunately, the pictures aren't the best, I must have been having an off day! :-(


Read more ...

Challenge Week 25: Inspired by Summer

16 June 2013

It's hard to get inspired by Summer when the weather is pants like this.  As I type I'm sat under a blanket in bed (albeit still in my pyjamas).  If it was last weekend, I think I would have struggled less.

When it is nice and sunny and summery, I like to wear nice and bright colours.  So, inspired by this (lol) I went for a bright and colourful glitter gradient.


I didn't manage to grab a decent photo including my thumb but from thumb across I used (all Barry M gellys) Mango, Dragon Fruit, Prickly Pear, Greenberry and Guava.  The glitter I used was Felix Felics from Lac Attack.


I'm waiting on quite a bit of Nail Mail from a couple of indie brands.  I can't wait to start swatching them when they arrive! 


Loading InLinkz ...
Read more ...

Challenge Week 24 - Metallic Nails

10 June 2013

So I was really stuck for this week's challenge and I may have copped out a little.  I used Barry M's Dragon Fruit then outlined the nail with a fantastic Avon silver pain and a small nail art paint.  I wasn't paying enough attention and the silver was hard to tidy up.


Read more ...

Challenge Week 23: Tribal Print

07 June 2013


These nails were mostly created using inspiration from across google images!  I went to Superdrug the other day to pick up the new Barry M Gellys (I only managed to buy Key Lime and Mango though and was gutted) so I used these new polishes plus the Pomegranate Gelly.

They're not the best but I'm trying to improve on my tutorial skills so here's a step-by-step on how I created these nails.

1.  Use a base coat (obviously).

2.  Paint two layers of your base colour.  I used Model's Own White.


3.  I then used Barry M's Nail art pen in black to do a rough outline of where I wanted the straight lines to be.  It doesn't matter how rough these lines are because they'll be covered up later.
4.  I then used a medium nail art brush to fill in the lines with different colours.  This was completely random and done however I fancied putting them.
5.  I finished off the design with a small nail art brush and Barry M black to re-do the original black lines and add in any extra features - zig zags and dots etc.

6.  After giving the nails forever to dry I applied two layers of Sally Hansen Quick Dry and cleaned up the manicure.


I love the new Barry M colours - they're fab and bright.  Just hope I can get my claws on the others soon.


 Loading InLinkz ...
Read more ...

Challenge Week 22: Gradient Nails

27 May 2013

I've been so slack with this challenge recently.  I have attempted a few but they've been rubbish.  I did an amazing one a couple of weeks ago but the photos went missing in cyberspace.  Gutted.

But I'm back for gradient week.

I've had my friends and fellow nailarters Saz (My Mint Nails) and Kathie (Kathie's Famous Fingers) to stay last week and Saz was talking about doing a sideways gradient.  I've seen these before and they look awesome so I thought I'd give it a try (and steal her idea).

I got my mum to pick me 5 colours out of my nail box:


She picked out 5 Gelly's which are my favourites.

The way I do gradients is different to other tutorials I've done.  It needs a bit more work getting the blending sorted but I like it so I thought I'd do a mini tutorial.

First I painted each nail one of the colours (the manicure is messy because I didn't bother tidying up or being careful, knowing I'd have to tidy it up later anyway).


Then, using a makeup sponge for each colour, I dabbed nail varnish onto one half of the nail, moving further across the nail as I went.


I then used the other colour on the same make up sponge to "mix" the polishes and get the gradient effect.  I did this two to three times with each colour until I got a decent blend.


Once I was happy with the blend, I cleaned the manicure up and added two layers of Sally Hansen Insta-Dry.  I'm very happy with this manicure and how it looks and got compliments all the way around Asda this morning.


Read more ...

Challenge Week 16: Inspired by a colour

17 April 2013

This week's challenge manicure was inspired by my favourite colour, PINK!

Pink is definitely my favourite colour - at the moment, everything in my room is pink and I just love it.  It's so girly.  I wanted to have another go at masking tape so I decided to do every nail a different pink then do something with all colours on my ring finger.  It wasn't very original or daring though and looked quite boring.


Read more ...

Challenge Week 15: Black & White

12 April 2013

This week's challenge is Black & White.  Should have been easy, say you?  Well first I forgot and then I ruined my last nail art brush freehanding another black & white design so I had to scrap that attempt and then I forgot again.

Then I remembered that I have been longing to try the "splatter" technique for ages and thought that this would look amazing with just black and white.  So I gave it a go.

The splatter technique is really easy to do.  Just incase you don't know how, here's a small tutorial.

What you need:

  • Straws (I used one out of a drink carton)
  • Newspaper (to cover your surfaces, this gets messy)
  • Polishes of your choice

The colours I used:


  • Barry M Black
  • Model's Own White
How to do it:
  1. Chose a colour for your base.  For this manicure I used white.
  2. Give it at least 10 minutes for the base to dry, or use a quick dry top coat.
  3. Once it's dry, dip your straw into the first colour (for this manicure black).  This needs to go in far enough to create a "film" over the top.
  4. Holding the straw about 5cm above your nail, blow sharply into the straw (a nice short puff works best).
  5. Once the splatter has dried, splatter with more colours.
  6. Tidy up.
  7. Add a top coat to finish

As you can see from the first picture, the manicure is really messy at first.  I tried using tape, but found it difficult to hold the straw with tape covered fingers!

But once it's cleaned up the manicure is actually really effective.


Read more ...

Challenge Week 14 - Inspired by Easter

01 April 2013

Easter is here!  If you've given up something for lent and you've managed to stick with it for the entire time - good on you!  Now go binge on chocolate!

I thought my easter manicure should have a bunny on it.  Before I started on this manicure, I ate a massive lindt bunny for inspiration.  I also found Cotton Candy's easter tutorial which is amazing.  Considering I'm so rubbish at freehanding, it helped me alot.

So here is my easter manicure using mostly Barry M colours and Rimmel's Matt Top Coat.  I love it and I've been making my bunny bounce around all day!


Read more ...

Challenge Week 13: Inspired by Spring (2)

29 March 2013

Here's another manicure inspired by Spring.  I did these Tuesday, ready for the Wednesday link up but then life got busy and I have only just had chance to upload the picture.

My friend Saz does an amazing cherry blossom manicure.  She has even been featured in Look magazine because of them (see first picture here).

These are no way as good as hers though, I did them us a rush after my slimming class.  I applied the top coat way too soon and it smudged.

BUT people have been commenting on my nails in work so they can't have been that bad!


Read more ...
Related Posts Plugin for WordPress, Blogger...