Image Map
Showing posts with label Tutorial. Show all posts

Splats and Stripes

29 August 2013

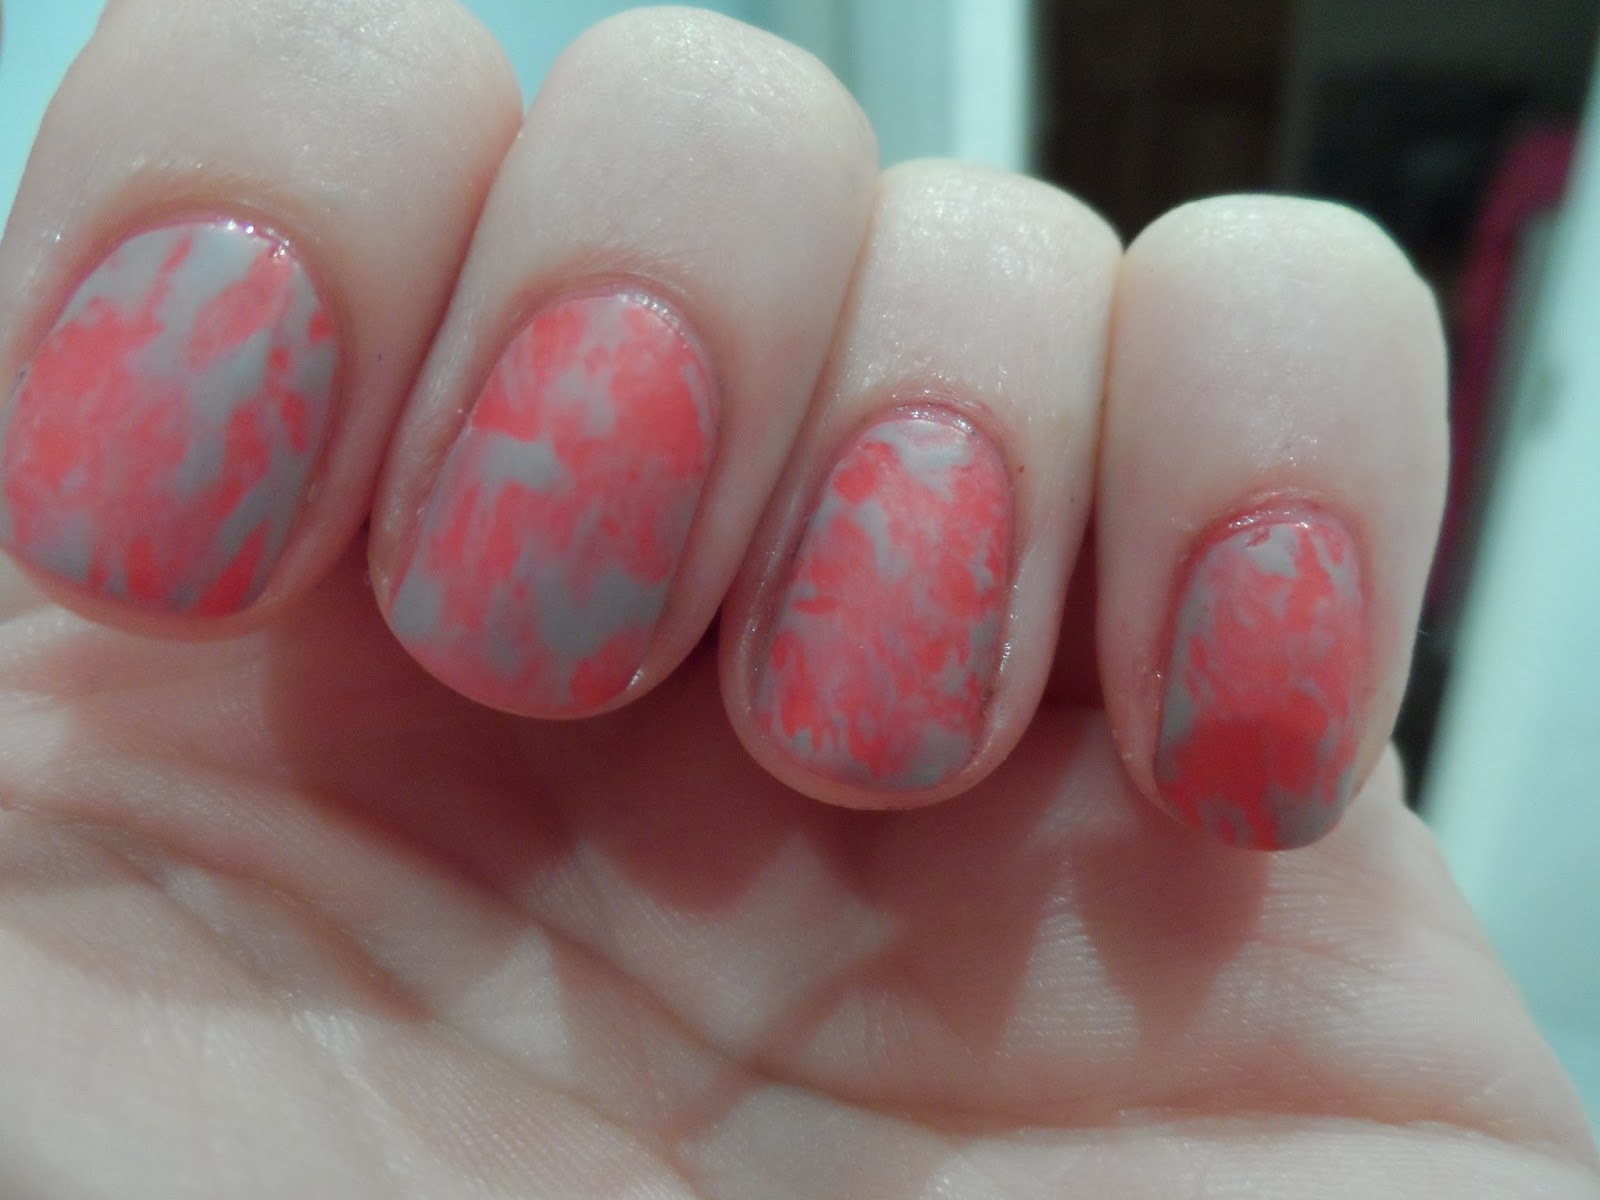
I love love love Splat nails.  You probably all know this by now.

I also love love love using striping tape.

So I decided to combine the two!


To do this I used the following polishes:

  • Sinful Colours - Snow White
  • Barry M Gelly Mango
  • Barry M Gelly Key Lime
  • Barry M Gelly Pomegranate
  • Barry M Gelly Guava (can you tell these are my favourite polishes at the moment)
  • and of course OPI Nail Envy and Sally Hansen Insta-Dry
The manicure is easy to do:

  1. Base coat first.
  2. Then two coats of sinful colours in white.
  3. Next, use Sally Hansen Insta-Dry to ensure the base colour is completely dry.
  4. Once you're positive it's dry, apply striping tape in any pattern you want.  I wanted to create a sun ray type look.  Remember what order you put them down so that you can remove them in the reverse order.
  5. Working nail by nail, use medium sized straws to blow your polish at your nail.  Vary the distance to get different sized "splodges".
  6. Remove the tape quickly and in the reverse order to how you applied them.
  7. Repeat steps 5 & 6 for each nail.
  8. Once the polish is completely dry, clean up and add a top coat.
And voila!  The clean-up for this manicure actually takes longer than the doing!


Read more ...

Challenge Week 35: Matte Magic Nails

26 August 2013

The challenge this week has come just in time because my Sally Hansen top coat has started to run dry. I don't get paid until Friday and am super skint so I'll be making the most of my matte top coat this week.

So, I couldn't think which of my favourite styles of nail art to do with a matte twist - would tribal or splatter look better.  Then I decided actually to try a Saran wrap manicure (clingfilm for us British Bloggers).

The varnishes I used were:

  • Opi Nail Envy
  • China Glaze Make Some Noise
  • Sally Hansen Dorian Grey
  • Rimmel Pro Matte Finish Top Coat
This manicure is really easy to do and looks super effective.
  1. Paint your base coat then two layers of your base colour.
  2. Wait for your base colour to be superdry then paint one layer of your top colour on the top of one nail.
  3. Using a little ball of clingfilm, press lightly against the nail until some of the colour comes up.  Be careful not to take all the colour up though.
  4. Do this for each nail.
  5. Once the polish is dry, clean up and add your top coat.
I looked at a few blogs for guidance on creating this look before giving it a go and I loved looking at all the different colour combinations.


In other news - I'm currently looking for someone who can help me redesign my blog.  If you think you can help (and obviously, I'm not looking for free help) please e-mail me at Naileymabob@gmail.com.  Thank you! :-)

P.S I think the next nail related purchase I make will be a light box!
Read more ...

Gelly Splatter Nails

21 August 2013

I love love love Splatter nails.  They look really good and I love cleaning up the mess too.

Here's a manicure I did with Barry M Gellys - Guava, Mango, Key Lime and Pomnegranate.  I blow the nail polish onto a white base (Sinful Colours) then tidied up and topped with two layers of top coat.

Simple, but really effective.


Read more ...
Related Posts Plugin for WordPress, Blogger...