Image Map
Showing posts with label OPI. Show all posts

Galaxy Nails (ish)

27 January 2014

I love, love Galaxy nails but for some weird reason (something to do with my poor colour choices), I can only do them in pastel colours.

I have never been able to post about my galaxy nails - I usually do them and run out of time to take a photo of them.  I usually use a tutorial I found on The Nailasaurus and obviously tailor it a little.

This time I decided to use Pocket Money Polish's Starry Night instead of freehanding the stars (I usually really muck these up).  I quite like the effect it has over the galaxy nails.

The colours I used are Barry M Limited Edition Yellow, Model's Own Grape Juice and Apple Pie, OPI Can't Find My Checkbook and 17 Pink Grapefruit.  I also dabbed on a bit of Avon's Silver to make it more cosmic-y.


Starry Night was a christmas gift off the lovely Saz! I can't wait to use it properly!

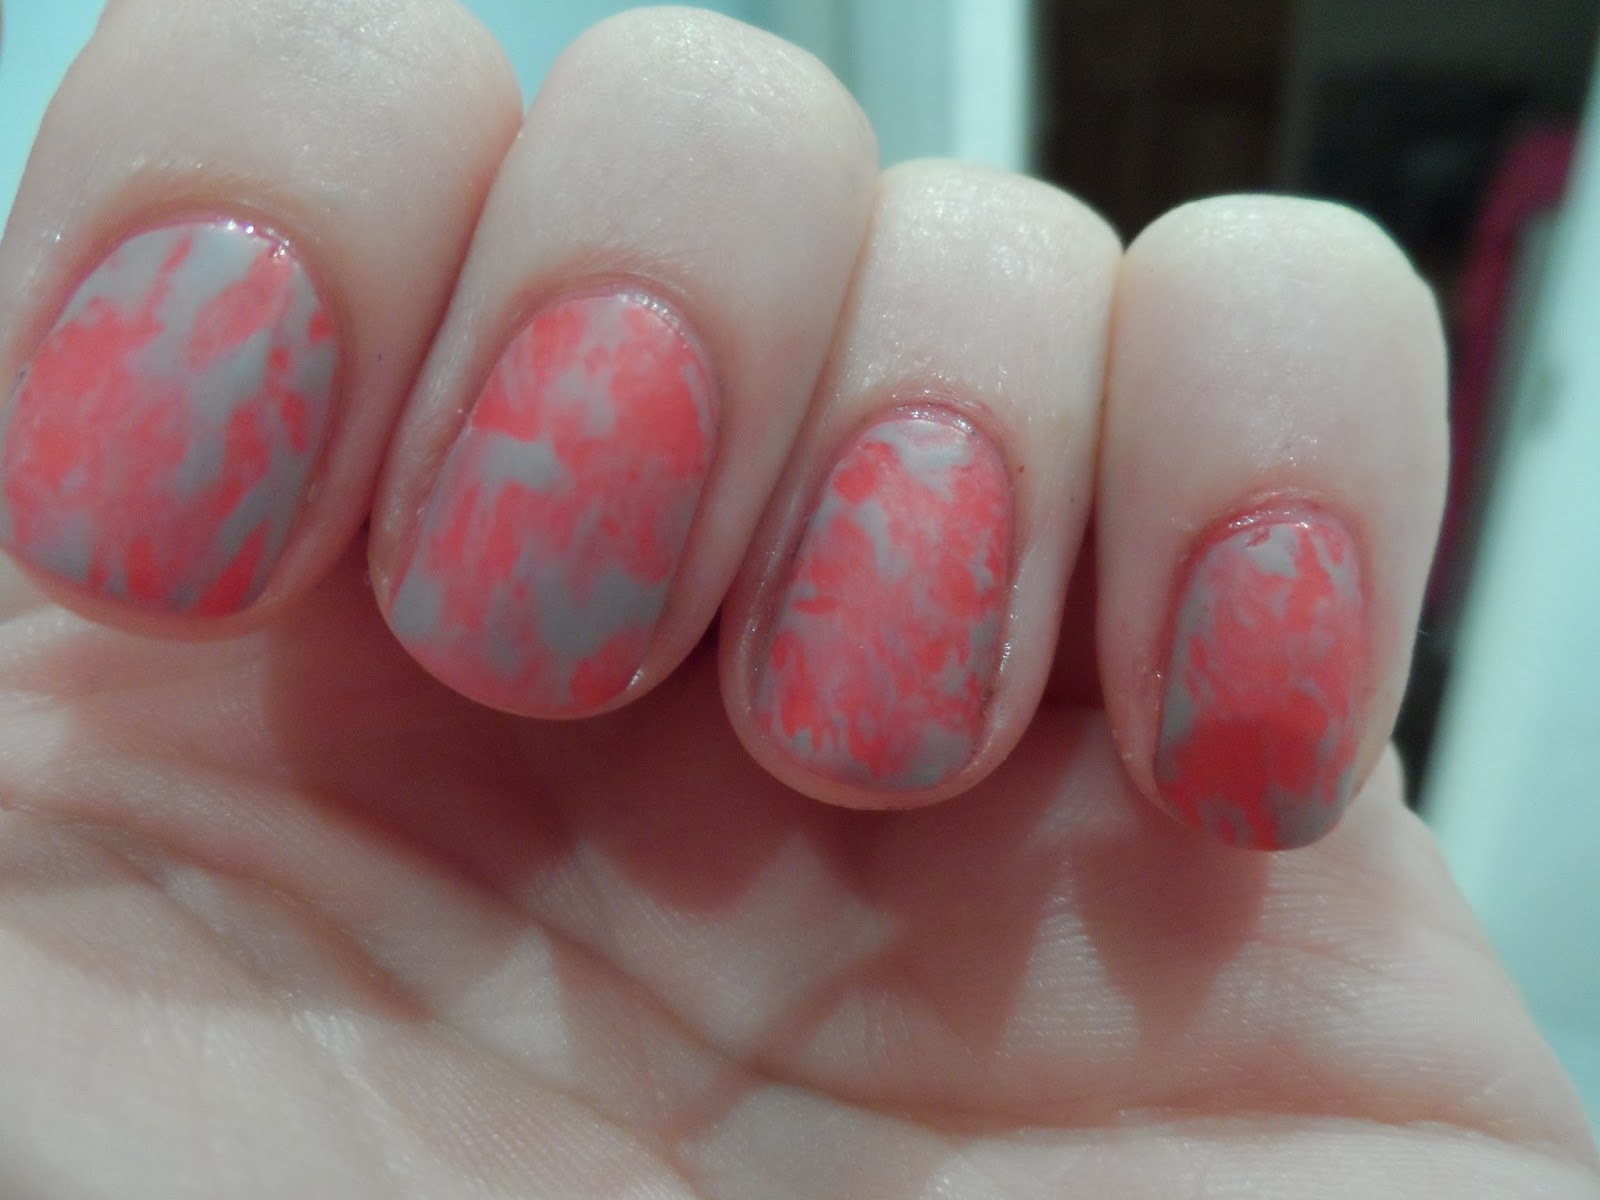
Sorry about the poor quality of the photos.  I did them really late last night and didn't check my lighting.


Read more ...

Golden Oldies Thursday: Pink

09 January 2014

Another day, another new nail polish challenge.  This is another of Crumpet's Nail Tarts challenges - Golden Oldies Thursday.


The rules are simple:
  • The polish you use should be at least one year old.
  • If you haven't been a polishaholic that long, you can use the older polishes you have
  • The polish should be previously used, but if you're stuck, you could free a yearling from Mount Untried
  • You can use more than 1 polish as long as it fits the theme and the rules.
So this week's challenge is pink.  I had a long look at my stash and finally spotted an OPI pink that has been there for so long, it's got wrinkles.  It's called Sparrow Me the Drama from the Pirates of the Caribbean range.  So actually, the polish is from 2011 which makes it super old!  I also found a tub of flocking powder which, although it's quite old.


I thought I'd do some fancy nail art with the flocking powder and striping tape.  I applied two coats of Sparrow Me the Drama then Insta-Dry over the top.  Once it dried I applied the striping tape in random patterns then added another layer of Insta-dry then the flocking powder.  But, by the time I'd applied the flocking powder, patted it down and got rid of any excess, the polish was too dry and it was very difficult to get rid of the tape without ruining the design.

So my nails looked like a muppet that had been mauled.  But I thought I'd share the pictures anyway, just so you can have a laugh!


Everyone else has done some fantastic designs so you should go and take a look.
Read more ...

British Nail Bloggers: Top & Base Coats

04 January 2014

So over at the British Nail Bloggers facebook page, we've decided this week to blog about our favourite base coats and top coats.  I'm very stuck in my ways with these and once I've found a decent product, it's very hard to persuade me to switch.  I've taken pictures of my favourite products, as they're the ones I'm currently using, but I'll talk about others I've used too.

Base Coat


OPI Nail Envy is the only base coat for me.  Since using it, I get hardly any breaks and the condition of my nails has improved so much.  It's quite pricey, but I'm lucky enough to be able to buy it at trade price so it's a lot cheaper.  The bottle last for ages and I use it under every manicure as a base coat.  It's quite good on protecting against staining too - I haven't got any discolouration on my nails and I use some pretty strong (and stainey) polishes.

The other base coat I have tried in the past is Sally Hansen's Green Tea & Bamboo.  Although it's a lot cheaper than Nail Envy, I found that while I was using it my nails were still prone to breaking but were less peeley.


Top Coat

My favourite top coat is Sally Hansen's Insta-Dri.  It's so easy to apply and dries so quickly (which is key for me as I'm very impatient and loathe sitting still waiting for my nails to dry).  If I'm using it I get less chippage than anything else I've used.


I buy mine from Boots and it's only £5.99 so a bargain.

Other favourites include:
  • Seche Vite. This product dries super quick but is quite pricey and is prone to shrinking which I detest.
  • No 7 Stay Perfect Nail Top Coat.  Super shiney and quite good at protecting your manicure but I find that it dries quite slowly, despite being a fast dry top coat.  It also lures me into a false sense of security and makes me believe that it's really dry, until I go to bed and I get those horrid sheet marks on my nails.  I'll usually only pick this up when I have no. 7 vouchers to use.


Read more ...

Challenge Week 41: Galaxies

11 October 2013

Yet again, I've been completely lax with this challenge!  I also can't believe we're up to week 41!  It's crazy.

This week is Galaxies nails and something I've always wanted to try but never got around to do it.  I used a fantastic tutorial by the Nailasaurus to help me.

This took me two attempts but I was really happy with the final results.  They didn't keep well though, only because I wore them to Thorpe Park yesterday and they got all battered and chipped! :-(

The polishes I used were:

Models Own - Apple Pie
Barry M - Limited Edition Neon Yellow & Prickly Pear
Opi - I Can't Find My Czech Book
Seventeen - Coral
Sally Hansen - Dorian Grey
Avon - Silver (for the shimmer)

These colours all look really good together and I think tonight I'm going to create a splatter manicure with them.

Here are the results:


Read more ...

Challenge Week 35: Matte Magic Nails

26 August 2013

The challenge this week has come just in time because my Sally Hansen top coat has started to run dry. I don't get paid until Friday and am super skint so I'll be making the most of my matte top coat this week.

So, I couldn't think which of my favourite styles of nail art to do with a matte twist - would tribal or splatter look better.  Then I decided actually to try a Saran wrap manicure (clingfilm for us British Bloggers).

The varnishes I used were:

  • Opi Nail Envy
  • China Glaze Make Some Noise
  • Sally Hansen Dorian Grey
  • Rimmel Pro Matte Finish Top Coat
This manicure is really easy to do and looks super effective.
  1. Paint your base coat then two layers of your base colour.
  2. Wait for your base colour to be superdry then paint one layer of your top colour on the top of one nail.
  3. Using a little ball of clingfilm, press lightly against the nail until some of the colour comes up.  Be careful not to take all the colour up though.
  4. Do this for each nail.
  5. Once the polish is dry, clean up and add your top coat.
I looked at a few blogs for guidance on creating this look before giving it a go and I loved looking at all the different colour combinations.


In other news - I'm currently looking for someone who can help me redesign my blog.  If you think you can help (and obviously, I'm not looking for free help) please e-mail me at Naileymabob@gmail.com.  Thank you! :-)

P.S I think the next nail related purchase I make will be a light box!
Read more ...
Related Posts Plugin for WordPress, Blogger...